

In commercial printing environments across Singapore—whether preparing rush event collateral for Suntec conventions, legal documentation in Raffles Place, or product packaging in Jurong—the preflight stage is the critical gateway between digital artwork and physical press production. Preflight is the systematic verification of digital artwork files before they are interpreted by high-speed raster image processors (RIP) and transferred onto physical paper.
When deadlines are tight, an unexpected preflight failure—such as unlinked RGB images, missing bleed borders, or un-embedded fonts—halts automated production lines immediately. Rather than waiting through multi-hour revision cycles, design and marketing teams benefit from mastering practical file repair techniques. This technical guide outlines how commercial CMYK preflight verification operates in Singapore, and provides step-by-step methods for resolving common artwork defects.
Why Do Prepress Technicians Reject Files Without 3mm Bleed?
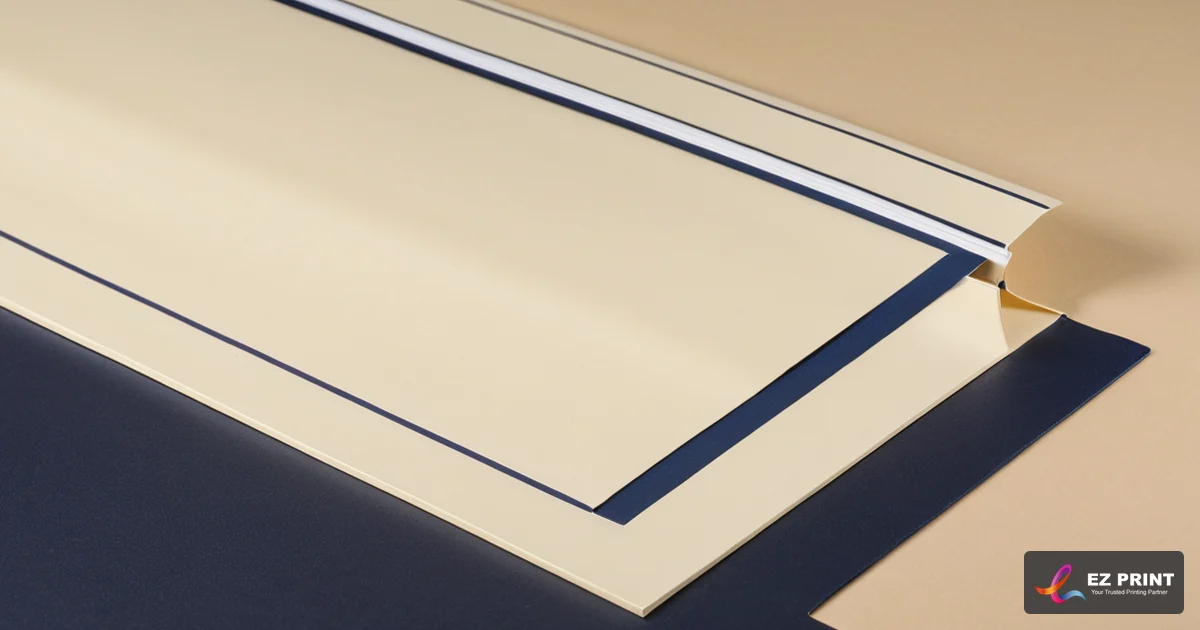
Prepress systems reject files without 3mm bleed because high-speed industrial guillotines experience microscopic mechanical tolerances when cutting through dense stacks of 500 parent sheets. Extending artwork 3mm beyond the finished trim line means that slight blade movement cuts through continuous ink rather than exposing raw white paper edges.
Print buyers often assume that computerized paper cutters trim sheets with mathematical zero-micron tolerance. In physical manufacturing, cutting heavy paper reams involves physical forces:
The Mechanical Reality of Blade Draw
- When a heavy steel guillotine blade descends through a 50mm-thick stack of paper, the downward clamp pressure slightly compresses the paper pile. As the angled blade enters the paper fibers, it experiences microscopic resistance known as “blade draw,” causing tolerances of 0.2mm to 0.5mm across the bottom sheets.
- If a document is designed to the exact finished size (for example, A4 at 210 × 297 mm) without bleed, a 0.3mm mechanical shift will leave a stark white unprinted line along one edge.
- By providing 3mm of artwork bleed (canvas size 216 × 303 mm for A4), the cutter shears safely through printed background colors, ensuring a clean, borderless finished product.
How Can Designers Add 3mm Bleed Quickly to Existing PDFs?
Designers can add 3mm bleed in Adobe InDesign or Illustrator by updating document setup bleeds to 3mm and pulling background elements outward to the red guide. In Adobe Acrobat Pro, bleed can be repaired directly using the Print Production Preflight tool to adjust TrimBox and BleedBox parameters or mirror edge pixels.
When receiving finalized artwork files from external agencies without bleed, design teams can execute triage repairs using professional tools:
Method 1: Source Document Extension (Adobe InDesign / Illustrator)
- Open File > Document Setup and enter
3mmin the Bleed fields (Top, Bottom, Inside, Outside). - Inspect the artboard: red outer bleed guidelines will appear 3mm outside the black trim edge.
- Select background colored panels, photographic textures, or decorative borders and drag their transform handles outward until they snap flush to the red bleed line.
- Export as Adobe PDF (Print), selecting the PDF/X-1a:2001 or PDF/X-4 preset. Under Marks and Bleeds, check “Use Document Bleed Settings.”
Method 2: Edge Mirroring in Adobe Acrobat Pro
If the original editable layout file is unavailable and only a flat PDF exists:
- Open the PDF in Adobe Acrobat Pro and open Tools > Print Production > Preflight.
- Open the Fixups list and search for “bleed”. Fixup names vary between Acrobat versions.
- Depending on the fixup, Acrobat sets a 3mm BleedBox and extends or mirrors the page edges to create bleed. Check the result closely: mirrored edges can look odd on photographs and on text near the edge.
- Save the repaired PDF and inspect the output in the Output Preview panel.
To review our complete file preparation guidelines, explore our artwork preparation service page and technical guide on how to prepare artwork for print.
Why Do Screen RGB Colours Shift During CMYK Print Conversion?
Screen RGB colors shift during print conversion because computer monitors emit light using an additive colour model with a wider gamut than the subtractive cyan, magenta, yellow, and black (CMYK) inks used on commercial presses. Vibrant neon blues, bright greens, and electric purples fall outside the CMYK gamut and compress to darker, desaturated tones.
Color management is one of the most critical aspects of prepress engineering. Understanding color spaces prevents unexpected visual surprises:
Additive RGB vs Subtractive CMYK
| Parameter | Digital Display (RGB) | Commercial Printing (CMYK) |
|---|---|---|
| Colour Model | Additive (combines light to create white) | Subtractive (absorbs light to create black) |
| Primary Channels | Red, Green, Blue | Cyan, Magenta, Yellow, Key Black |
| Gamut Volume | Large color triangle (vibrant neons) | Restricted diamond gamut (physical pigments) |
| Substrate Impact | None (self-illuminated pixels) | Highly dependent on paper brightness and coating |
| Standard Profile | sRGB / Display P3 | FOGRA39 (Coated) / FOGRA47 (Uncoated) |
Preventing Gamut Clipping During Design
- Work in the Right CMYK Profile: Many commercial presses work to standardised offset printing conditions, and Coated FOGRA39 (or GRACoL 2006) is a common CMYK profile for coated stock. Ask your printer which profile they want, and set your working space to match so on-screen colours are closer to what can be printed.
- Convert Out-of-Gamut Swatches: In Adobe Illustrator, open the Color Palette. If an alert triangle appears (“Out of Gamut for Print”), clicking the warning icon automatically maps the RGB tone to the nearest achievable CMYK equivalent.
What Is Total Area Coverage (TAC) and Why Does Over-Inking Fail?
Total Area Coverage (TAC), or Total Ink Limit, is the combined percentage of cyan, magenta, yellow, and black ink applied to a single point on paper, commonly capped at around 300% for coated stocks. Going well beyond the limit can leave heavy ink that dries poorly, causing ink offsetting onto adjacent sheets or toner blistering under heat fusing.
Prepress software flags high ink density to prevent physical press failures:
- The Math of Over-Inking: If a designer creates a “rich black” background by mixing C100 M100 Y100 K100, the resulting Total Area Coverage equals 400%.
- Ink Setting Failures: In digital toner printing, laying down 400% toner creates an excessively thick plastic emulsion layer that resists fusing to paper fibers, resulting in flaking along creases. In offset printing, 400% wet ink saturates the paper fibers, causing sheets to stick together in the delivery pile (a defect known as blocking or set-off).
- The Optimal Rich Black Recipe: To achieve a deep, neutral corporate black without exceeding ink limits, use C30 M20 Y20 K100 (Total TAC = 170%). This keeps the black deep while staying well inside common ink limits.
How Does Vector Font Outlining Prevent Missing Glyph Errors?
Vector font outlining converts live typographical characters into permanent mathematical anchor points and Bezier curve outlines. This eliminates all dependency on external digital font files, preventing automated prepress RIP engines from substituting missing fonts, dropping special accent glyphs, or altering paragraph line-wrap formatting during high-speed commercial press processing.
When PDF files move across different computer operating systems, font licensing subsets and glyph encodings can experience interpretation errors:
- If a custom corporate brand font is not fully embedded in a submitted PDF, automated prepress RIP servers substitute a default system typeface (such as Courier or Arial).
- Font substitution alters character widths, causing headlines to overflow text boxes, breaking line wraps, or dropping special characters entirely.
- By selecting all typography in design software and executing Create Outlines (Ctrl+Shift+O / Cmd+Shift+O), letters transform into immutable vector polygons that render with identical fidelity on every press worldwide.
To explore how preflight rules apply to urgent convention collateral, review our Suntec City express printing guide and commercial printing capabilities.
Worked Example: Preflight Repair for an Urgent CBD Capability Statement
Hypothetical illustration. Figures are assumptions for explanation, not a real transaction or advice. Consider a legal consultancy in Raffles Place submitting an urgent 8-page capability statement PDF that fails preflight checks due to missing bleed and RGB images. This scenario outlines the operational steps taken to repair the file and deliver the print run when timing is agreed upon confirmation.
A marketing team in Singapore CBD submitting files for an unscheduled client presentation is told at the artwork check that the file has missing bleed and a 400% rich black. This walkthrough outlines the sequential decisions and checks made to repair the artwork.
Step 1: Preflight Triage and Error Identification
The designer reviews the issues flagged at the artwork check after sending the file with a quote request:
- Error 1: Page dimensions 210 × 297 mm with 0mm bleed (requires 3mm perimeter bleed).
- Error 2: Photographic headshots saved in sRGB color space with 72 DPI resolution.
- Error 3: Background colored banner formatted as C100 M100 Y100 K100 (400% TAC).
Step 2: InDesign Document Setup & Bleed Correction
The designer opens the layout file:
- Adjusts Document Setup to include 3mm bleed on all four sides.
- Extends the full-bleed background images and brand header bars outward to snap flush to the red bleed guides.
- Ensures all body text remains at least 5mm inside the trim line.
Step 3: Image Replacement & Color Gamut Remapping
The designer replaces the 72 DPI web screenshots with original high-resolution photographic source files, verifying in the Links panel that effective PPI exceeds 300 DPI. Using Photoshop, the images are converted to CMYK Coated FOGRA39.
Step 4: Color Swatch Correction & Vector Outlining
The designer updates the background color swatch from 4-color black to a calibrated rich black of C30 M20 Y20 K100 (TAC 170%). All typography is selected across all master pages and converted to vector outlines.
Step 5: PDF/X-1a Export & Production Intake
The document is exported using the PDF/X-1a:2001 preset with document bleed settings enabled. The revised file passes the artwork check and production is scheduled. Timing is agreed when the job is confirmed. Finished documents are boxed and dispatched via courier.
Frequently Asked Questions
Is same-day printing available for repaired preflight documents?
Same-day printing available. Subject to artwork, stock and production capacity confirmation. Timing is agreed for each job. Standard turnaround is 7–14 working days. Express feasibility depends on file compliance with 3mm bleed, CMYK FOGRA39 profiles, vector font outlines, and digital press queue availability.
What is the difference between PDF/X-1a and PDF/X-4 presets?
PDF/X-1a:2001 is a strict legacy standard that automatically flattens all transparency layers and converts all elements to CMYK, ensuring maximum compatibility across all printing presses. PDF/X-4 supports live native transparencies and ICC color profiles, making it ideal for modern digital workflow engines that handle color management at the RIP.
Can low-resolution 72 DPI images be artificially enhanced for print?
No. Resampling or scaling up a 72 DPI web image in graphic software simply interpolates and duplicates existing pixel blocks, resulting in blurry, soft prints. High-quality commercial printing requires genuine optical resolution of at least 200 to 300 DPI at full output size.
Why must text be placed 4mm to 5mm inside the cut line?
This inner margin is known as the “safe quiet zone.” While automated cutters trim paper accurately, minor mechanical paper shifts of 0.5mm can cause text placed too close to the trim edge to feel visually uncomfortable or risk clipping during cutting.
How are completed print orders collected or delivered?
Finished jobs can be dispatched across Singapore via priority courier. Confirm the delivery point and contact with the venue or organiser in advance. Alternatively, clients can opt for pickup: Collection by arrangement — tell us when you would like to collect and we will confirm the time.
Summary Checklist for Flawless Artwork Preflight
Before submitting artwork files for commercial print production, verify this essential prepress quality checklist. Checking 3mm bleed extensions, 300 DPI raster resolutions, CMYK FOGRA39 color profiles, vector font outlines, and ink limits under 300% prevents preflight halts and helps your job move through the artwork check without delay.
Before uploading your artwork to press, verify these essential technical checkpoints:
- 3mm perimeter bleed provided beyond all outer trim edges on every page.
- Safe quiet margin of at least 4mm maintained between critical text and the trim line.
- Image assets prepared at a minimum of 300 DPI for standard viewing distances.
- Color profile exported in CMYK format (Coated FOGRA39 standard).
- Total Area Coverage (TAC) verified to remain below 300% maximum ink limit.
- All typography converted to vector outlines or verified as 100% embedded subsets.
- Document exported as a compliant PDF/X-1a or PDF/X-4 file with crop marks set outside bleed.
To submit your files for preflight verification or request an urgent production quote, visit our request a quote form or explore our complete commercial printing capabilities. To find out more about EZ Print, see our about page.
Same-day printing available. Subject to artwork, stock and production capacity confirmation. Timing is agreed for each job.